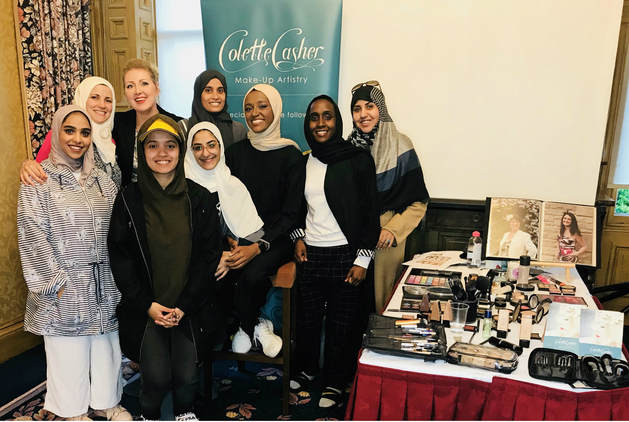
I was first approached by Lilly from the University of Edinburgh to hold a group make-up masterclass for a large group of 45 ladies. These lovely ladies were visiting Edinburgh and the university, coming all the way from sunny Saudi Arabia.
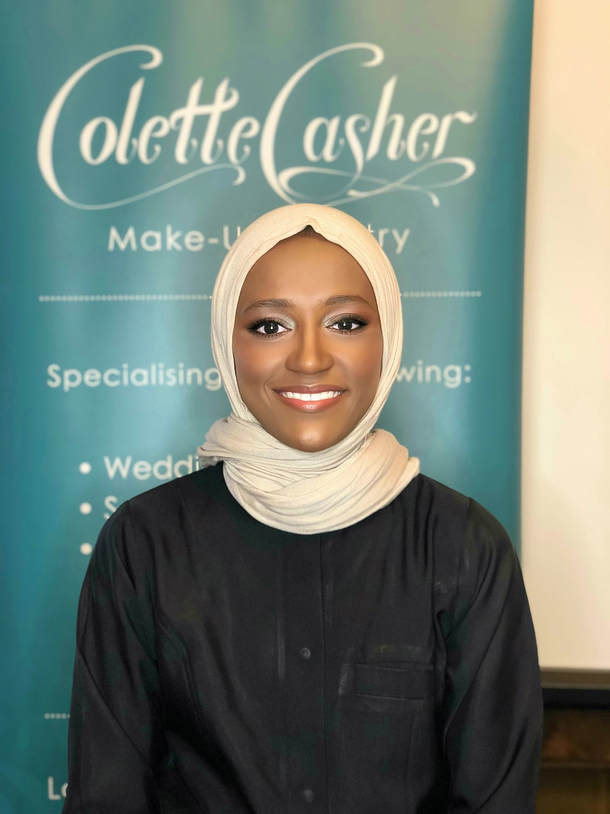
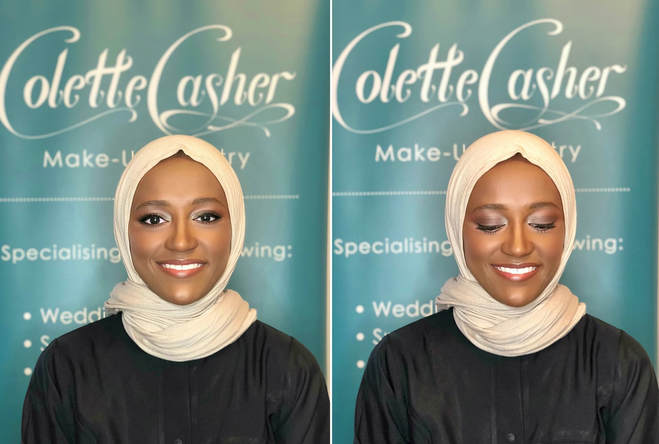
The group was interested in learning about how to create the classic soft smokey eye, as well as learning more about how to achieve that chiselled look with contouring. So, we went for a burnt orange & brown smokey eye, along with a flawless, glowing base, with some contouring to emphasise our model's features and dark complexion. Complementing this look with a pale coral lip. This is the perfect make-up look for any special occasion or wedding make-up.
Want to know how to create this look? Then read on…
1. Prep the skin by cleansing, toning and moisturising. Then apply a primer to both the face and eyelids.
2. Starting with the eyes first, apply a pale gold eye shadow across the eyelids and under eye. Starting with the eyes saves on time spent tidying up any eye shadow fallout onto the base – creating a smokey eye can get messy! ?
3. Then apply a burnt orange eye shadow across the eyelid, crease and up onto the brow bone, as well as the under eye area.
4. Apply a dark brown eye shadow across the eyelid and crease, and blend it into the burnt orange shadow, taking it to just above the crease and ensuring the burnt orange shadow is still visible above the brown shadow on the brow bone.
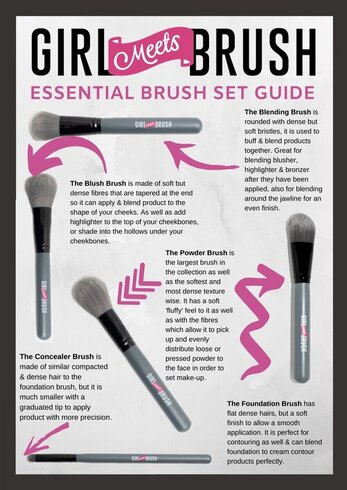
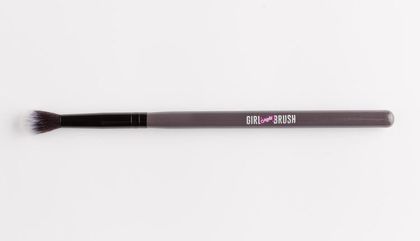
To achieve a professional finish, blending is key for any eye makeup, and the secret weapon to achieving this professional blend is the domed blending brush – a key component to any eye makeup brush arsenal. One of my favourites is the Girl Meets Brush Eye Shadow Blending brush, which is soft bristled and also vegan friendly & cruelty free.
5. The brown eye shadow should also be placed along the under-eye, as close to the eyelashes as possible. Again, ensuring the burnt orange eye shadow is visible just below it, and blended well.
6. Across the top lash line, apply black gel eyeliner as close as possible to the eyelashes, finishing with a flick at the outer corners.
7. Curl the top lashes with an eyelash curler and apply two coats of black mascara to both the top and bottom lashes.
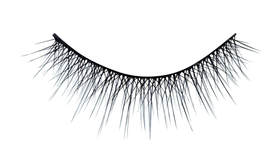
8. For a more dramatic, evening makeup look, strip lashes can also be applied. To apply the strip false lashes correctly, place them as close as possible to the top lash line. Ensure to gently brush the eyelashes through the false lashes for a comfortable fit.
9. Apply foundation to the face.
10. Then apply concealer (of a similar shade to the foundation) where required, such as on the under eye area and on any blemishes, blending well.
11. Set by gently patting a little loose powder down the T-Zone only, for a more dewy, glowing finish. Don’t forget to set the concealer on the under eye area also to minimise the concealer moving into and exaggerating any fine lines.
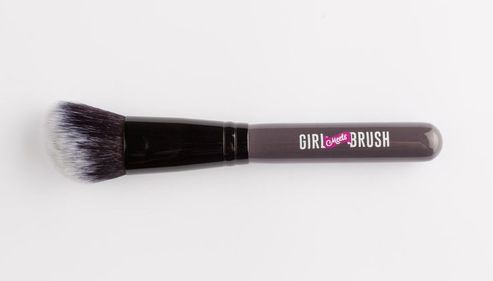
12. Using an angled blusher brush, apply a matte contouring powder product according to your face shape.
13. Again, using an angled blusher brush, apply a peach toned blusher to the apple of the cheeks, sweeping lightly underneath the cheekbone to blend.
The Girl Meets Brush Angled Blush/Contour brush is a great brush for applying both contouring and blush powder products.
The below chart provides a helpful guide to both the contouring and blusher product placement according to the different face shapes.
14. Groom the brows by brushing. For any sparse areas, fill in as necessary with brow powder (or other brow product), then brush through again to soften and blend.
15. To complete the look, line the lips with a pale coral lip liner and apply a matching pale coral lipstick to the lips. For our model, we used a brown liner due to her darker complexion. A lip brush should be used for precision, particularly for a matte textured lipstick which can be tricky to apply.
Products used in the masterclass to create this makeup look were:
Eyes
Mac Prolongwear Paint Pot ‘Quite Natural’
Mac Eye Shadow ‘Retrospeck’
Crownbrush Rose Gold Eye Shadow Palette - burnt orange shade
Mac Eye Shadow ‘Embark’
Illamasqua Precision Gel Liner ‘Infinity’
Illamasqua Brow Cake ‘Gaze’
Face
Mac Prep & Prime Skin Base Visage Face Primer
Mac Skin Refined Zone Face Primer
Illamasqua Skin Base Foundation
Mac Select Cover-Up Concealer
Illamasqua Loose Powder
Mac Mineralize Skinfinish Natural ‘Dark Deep’
Mac Powder Blush ‘Peaches’
Mac Mineralize Skinfinish ‘Soft & Gentle’
Lips
lllamasqua Liner ‘Fidelity’
Mac Lipstick ‘Pure Zen’
Mac Lipstick ‘Vegas Volt’
Here are images of our beautiful model with the finished make-up look.
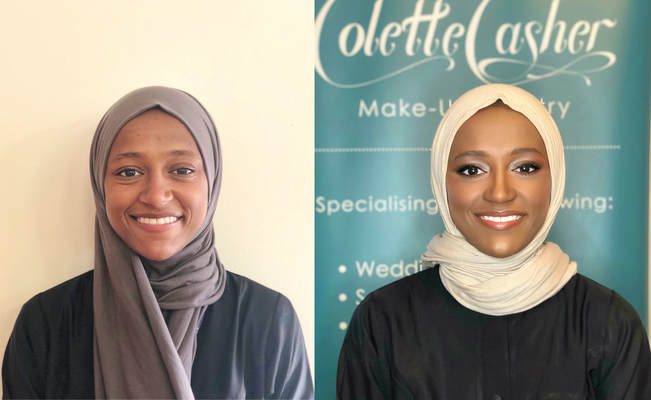
Including a before and after the makeover...
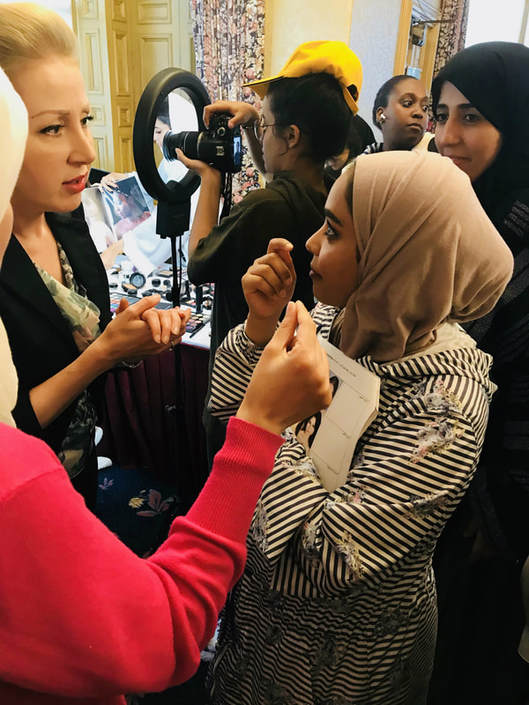
And some images of the evening.
Have fun putting this smokey eye look into practice!
If you enjoyed this post and makeup tutorial, and would like someone to teach you how to apply make-up step by step, choose the correct shades for your colouring or even change the way you do your make-up, check out my Make-Up Lessons page.
And if you would like someone to do your makeup for a special occasion that is coming up, just get in touch!
As always, I welcome your thoughts on any of this blog post's content in the comments section at the bottom of this post - I would love to hear from you.
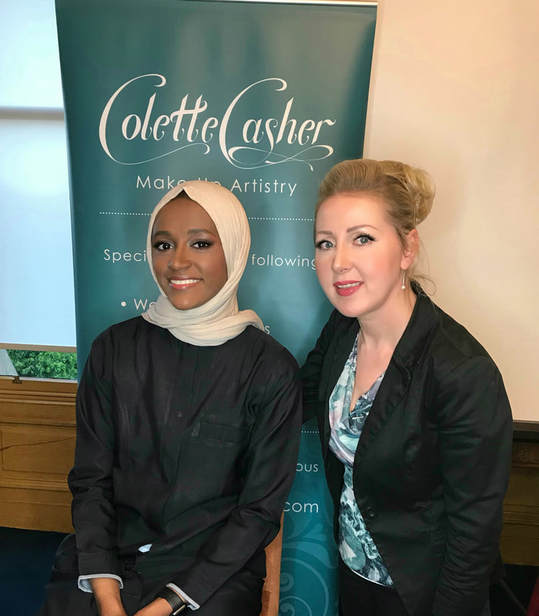
Thanks a million to Lilly & all the lovely ladies who attended this group make-up lesson, I had such a fun evening with you all. And a special thanks to my beautiful model, Amjad ?
Colette x
|
Like this blog post? Then please share the knowledge! |
|
For more helpful makeup tips and tricks of the trade, follow me on Facebook, Twitter and Pinterest, and sign up for my free report 'Makeup Secrets that Everyone Should Know About!' by simply entering your details below:


 RSS Feed
